

A Beginner's Guide to Reading Embroidery Charts and Stitch Keys
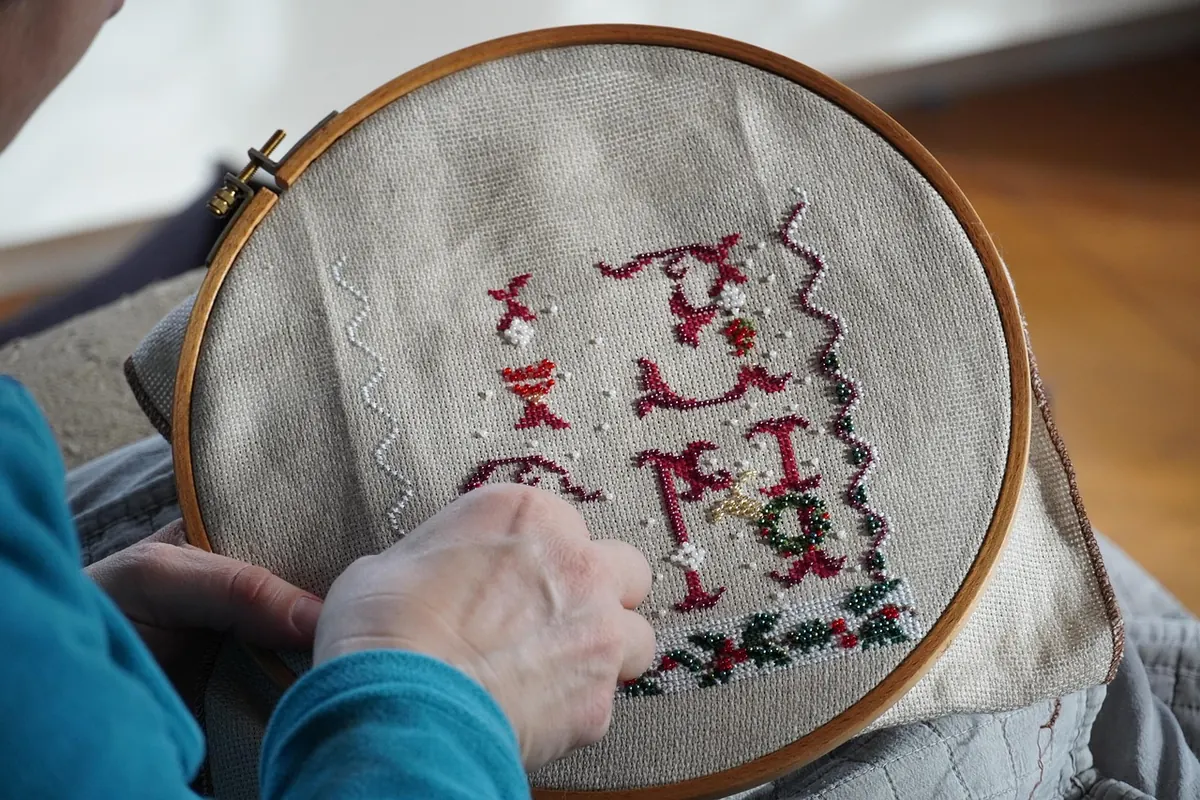
A chart is not a picture of a finished embroidery. It is a set of instructions written in a grid, and it only looks intimidating until you know what each part is for. Counted embroidery charts are built from three things: a grid of squares, a key that translates symbols into stitches and threads, and a list of materials. Learn to read those three and you can pick up almost any chart — a tiny motif for a card or a full landscape — and know exactly where to put your needle.
What the grid is telling you
In a cross stitch chart, each square represents one stitch on your fabric. That is the first rule, and almost everything else follows from it. Where a symbol sits in a square, there is a stitch; where the square is empty, there is nothing.
Look for the heavier lines that appear every ten squares. They let you count in tens rather than ones, and they will save you more time than any other feature on the page. Arrows along the edges mark the centre of the design, which is where most stitchers begin.
Charts also carry information outside the grid. Backstitch often appears as a coloured line drawn over the squares, French knots as small dots, and beads as circles with a hole at the centre. Two symbols in one square means a blended stitch. A symbol that fills only a corner is a quarter or half stitch.
Decoding the stitch key
The key, sometimes called the legend, is the dictionary. It lists every symbol used in the chart beside the thread it belongs to. The logic is simple: one symbol equals one colour, and that symbol means the same colour everywhere in the design.
Designers choose symbols that are hard to confuse, but there is a limit to how many they can invent. You will meet solid triangles next to open triangles, circles with and without a dot, and letters that look like numbers before your first cup of tea. Read the key before you stitch, not while you are counting.
Symbols worth recognising on sight
- Solid and open shapes — squares, circles, triangles and diamonds, usually the main body of a design.
- Letters and numbers — used where shapes run out, and easy to misread on a faint photocopy.
- Lines of a different weight or colour — backstitch, which defines outlines and adds detail.
- Small dots — French knots or beads, usually stitched last.
- Half-filled squares — quarter stitches, common on faces and curves.
Reading the colour key without losing your place
A good colour key gives the thread brand, the shade number, the colour name and, if you are lucky, the number of stitches needed in that shade. A chart without brand numbers is still usable — you match the printed colour to your own threads by eye — but printed ink is never an exact match for dyed cotton, so judge in daylight rather than under a lamp.
Before you start, copy the chart and highlight the symbol for each colour as you reach it. Marking a copy is far easier than squinting at the original for hours. If you prefer to stitch colour by colour, list each shade and work through it in blocks. If you prefer to work row by row, jot the symbols you need for the current row on a sticky note. Both methods are legitimate; the second is often safer for beginners, because mistakes surface within a row rather than ten rows later.
Tip: if a shade on your chart is discontinued or unavailable, choose the closest match within the same family — err slightly lighter rather than darker, since dark threads tend to dominate a design.
Thread counts, strand counts and fabric counts
The numbers printed around a chart measure different things, and it helps to keep them apart.
- Fabric count — how many squares fit into one inch of fabric. On 14-count aida that is fourteen squares per inch, so a design 140 stitches wide will measure roughly ten inches (about 25 cm) across before framing.
- Strand count — how many plies you separate from the skein. Two strands is the usual choice for cross stitch on aida, and one strand for backstitch and fine detail. The chart notes will confirm it.
- Stitch count per shade — how many crosses each colour requires, useful for judging whether a single skein will be enough.
- Skein estimates — a guide, not a guarantee. Buy a little extra of any shade, and note dye-lot numbers if you are buying in batches.
Allow a margin of fabric around the design; about 7.5 cm on each side gives you room for framing and finishing. Fold the fabric into quarters to find its centre, then match that to the centre arrows on the chart.
Following a chart row by row
Row-by-row working suits any chart, however large. The rhythm is straightforward once you have set yourself up properly.
- Find the centre arrows on the chart and the centre of your fabric, then mark the starting stitch with a pin or a loose thread.
- Count out to your first symbol from the centre rather than from the edge. The centre is fixed; your cut edge is not.
- Work the row left to right, making the bottom leg of each cross as you go, then return right to left to complete them. Consistent direction gives a neater finish.
- Cross off each finished row on your copy of the chart with a pencil and ruler, or cover the rows below with a strip of paper so your eye cannot wander.
- Count in groups of ten, using the heavier grid lines as checkpoints, and glance at the row above before you move down.
- Check the arrows are the right way up. A chart turned sideways is a very slow way to stitch.
When the numbers refuse to add up
Miscounts happen to everyone, usually by one stitch. Before you unpick anything, count from the nearest solid block of colour rather than from the edge; the block is a landmark, and landmarks are quicker to trust. If a symbol appears that is missing from the key, look for a second page, a note from the designer, or a shading convention where one dot stands in for a colour repeated across a motif.
Running short of a thread mid-project is the other classic. It rarely matters if you bought your skeins together and noted the dye lot; it matters more otherwise. Where shades differ slightly, use the newer thread in a less visible area, or spread the change across the whole motif instead of confining it to one block.
A five-minute routine before you thread your needle
Read the key once. Copy the chart and highlight the symbols you need. Work out your fabric size and cut it with a generous margin. Find the centre and mark it. Confirm your strand count. Then, and only then, cut a length of thread.
It is worth practising on something small first — a heart, a star, a few initials — and working it twice, once row by row and once colour by colour. You will learn how your own eye prefers to count, and that knowledge is what turns a confusing grid of symbols into a comfortable evening's stitching.
Photo: VincentTim / Pixabay